Journal Entries can be entered into Restaurant365 various ways. This article will discuss how Journal Entries can be imported through the use of .CSV templates. It is important to note that negative values cannot be entered in the Journal Entry Template. The importing process is outlined below.
Creating New Journal Entries via Import
Step 1: Obtain R365 JE Import Template
To begin creating Journal Entries via Import, first obtain the R365 JE Import Template and Documentation files. Click here for a list of all available JE Import Template files.
Step 2: Read Template Documentation
Read through the documentation file to learn what each column in the JE Import template represents, and what data will need to be entered into the template.
Step 3: Enter the Journal Entry into the Template
Enter the Journal Entry information into the template per the instructions in the documentation. Ensure that the Journal Entry is in Balance. Save as a .csv to prepare for import.
- Note: Existing records that are referenced in a JE Import template, such as Location Name/Number or Account Name/Number must match the same spelling or number as the corresponding record in Restaurant365. Misspelled or non-existing records will result in import failure. Click here for more information on Troubleshooting Import Errors.

Step 4: Open Journal Entry Import Screen

Hover over the 'Account' menu in the top ribbon and select 'Import Journal Entry' to open the Journal Entry import screen in a new tab.
Step 5: Set Import Parameters, Select and Upload File for Import
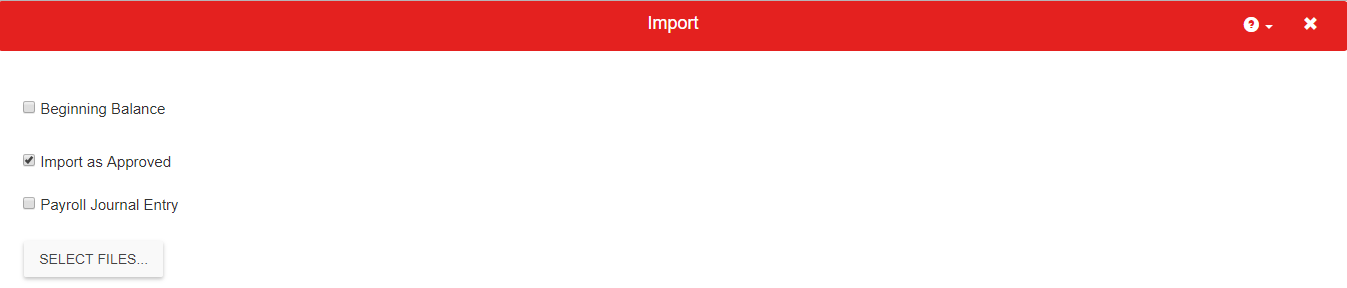
Set the import parameters, including if the JE will be imported as approved or if it is a Payroll Journal Entry. Select the saved template, then upload.
Step 6: Review Import / Troubleshoot Errors
If the Journal Entry (or entries) imported correctly, the importer will display how many records were created.

If there is an import error, the error will be displayed, along with a hyperlink to troubleshoot the error.

Imported Journal Entries will be listed in the 'Journal Entries' list of the 'General Ledger' subsection of the Accounting module.
Note: This article has been rewritten as of 7/5/17. Click here to download the original version.