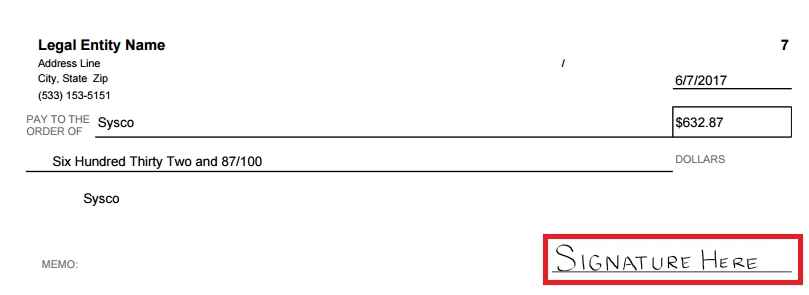
Restaurant365 gives Users the option to upload a signature to be included on checks for transactions involving Bank Accounts. If the signature and the file containing the signature are not formatted correctly, the signature function may not work properly. Use the following steps to create a signature correctly to be used in Restaurant365.
How to Print Check with Signature and Other Settings:
Please refer to the Check Signatures article for additional information on how to use 'Print Check with Signature'
Please refer to the Bank Account Record for more information on Check Signature settings on the Bank Account
Recommended Applications
A proper check signature can be created through two different free applications available on Windows products, Paint and Paint 3D. Depending on the computer, Paint should be installed and ready to use. If using an Apple Product, the signature can be created in Preview.
If needed Paint can be downloaded here: Paint
And Paint 3D can be downloaded here: Paint 3D
Signature File Creation Walk-through
The required steps for each application will be demonstrated below:
Windows - Paint
If using Paint, open a new project and navigate to the ‘Resize’ option in the top menu

Click on Resize and the following window will appear:

Be sure that the ‘Pixels’ option is selected and the ‘Maintain aspect ratio’ option is NOT checked. Manually set the horizontal pixel value to ‘1200’ and the Vertical pixel value to ‘160’.
A space for a signature will appear after pressing ‘OK’ on the Resize window.
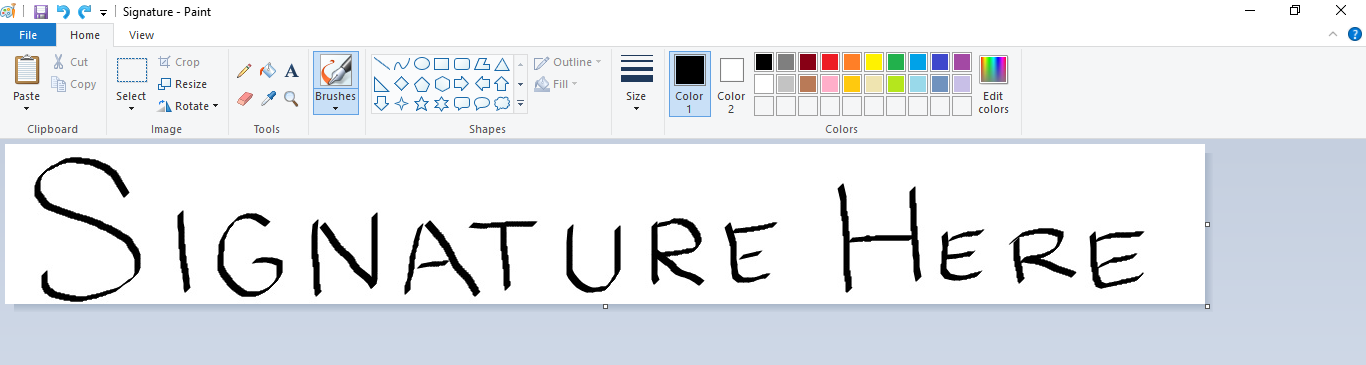
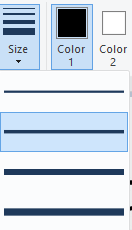
Draw in the desired signature with a thicker line and be sure to use all the space provided, if possible use a device with a touch screen for greater accuracy. The brush size can be changed by selecting it from the ‘Size’ menu in the top ribbon.
Windows - Paint 3D
If using Paint 3D, select the canvas icon from the top ribbon. Manually set the pixels settings in the menu on the right. Once again, Width should be set to 1200 and Height should be set to 160.
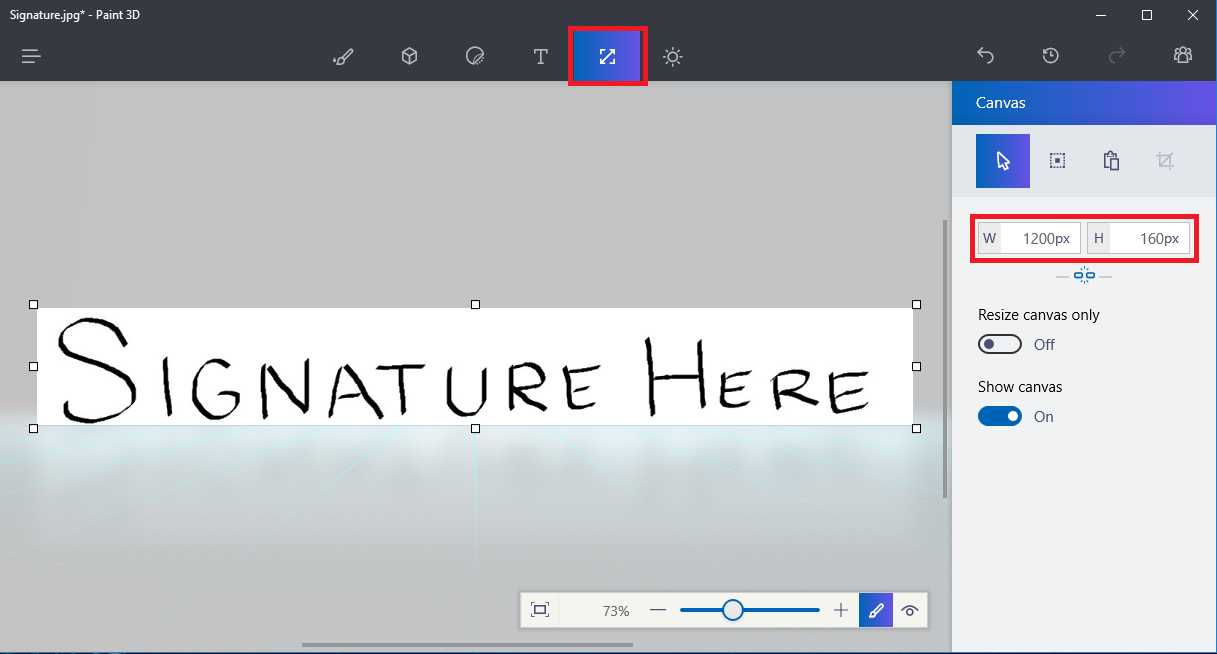
Next, select the pen icon from the top ribbon and draw the signature in the space give, be sure to use the entire space provided.

When finished save the file type as JPEG.
Mac OS - Preview
If using a Mac, open the Preview application. In order to create a signature in Preview the user needs a blank (white) picture to edit. This can be accomplished by taking a screen shot of any white space. To take a screenshot, press Command+Shift+4 to produce the Image Capture cross-hairs to outline an area and create a screenshot. The default setting on Mac products is to immediately save the screen shot to the desktop.
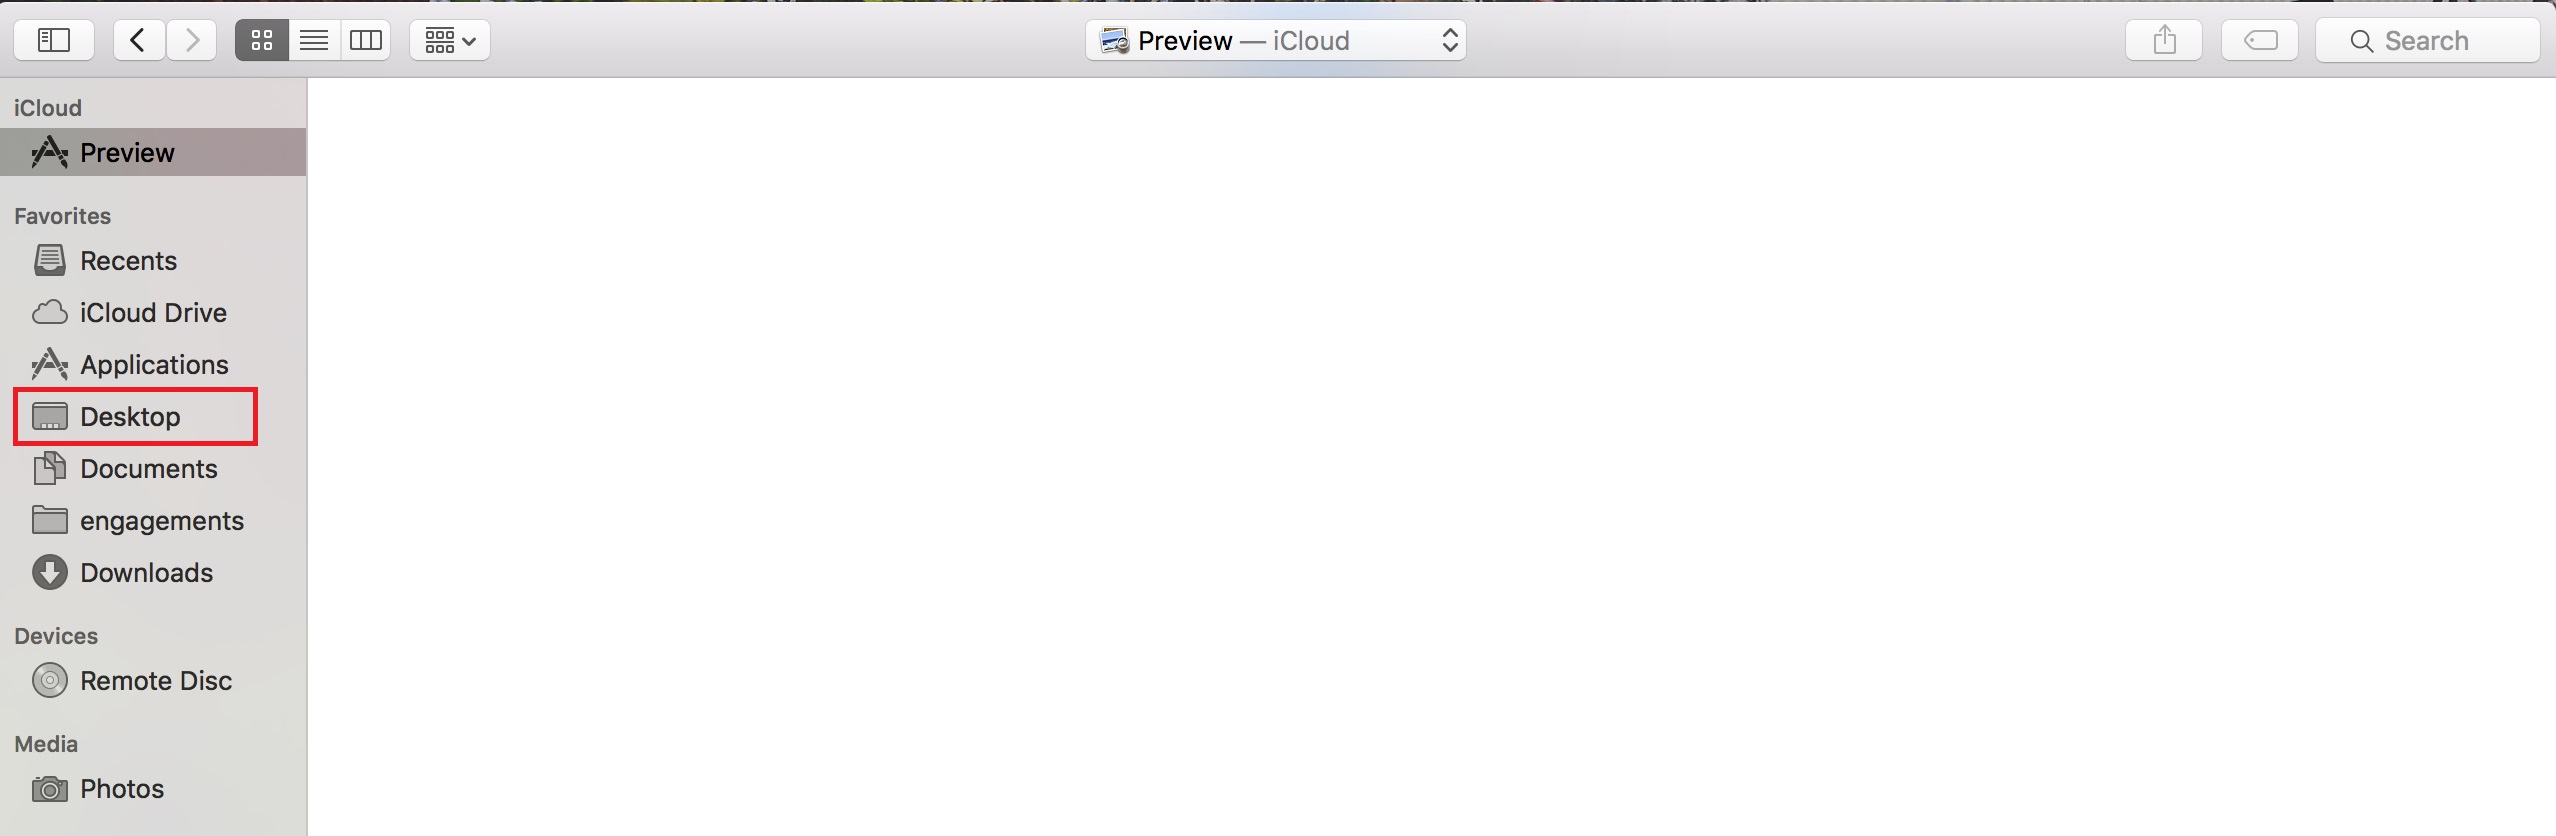
Once the screen shot has been taken, select the 'Desktop' option in the left menu to find and select the screen shot to open in Preview.
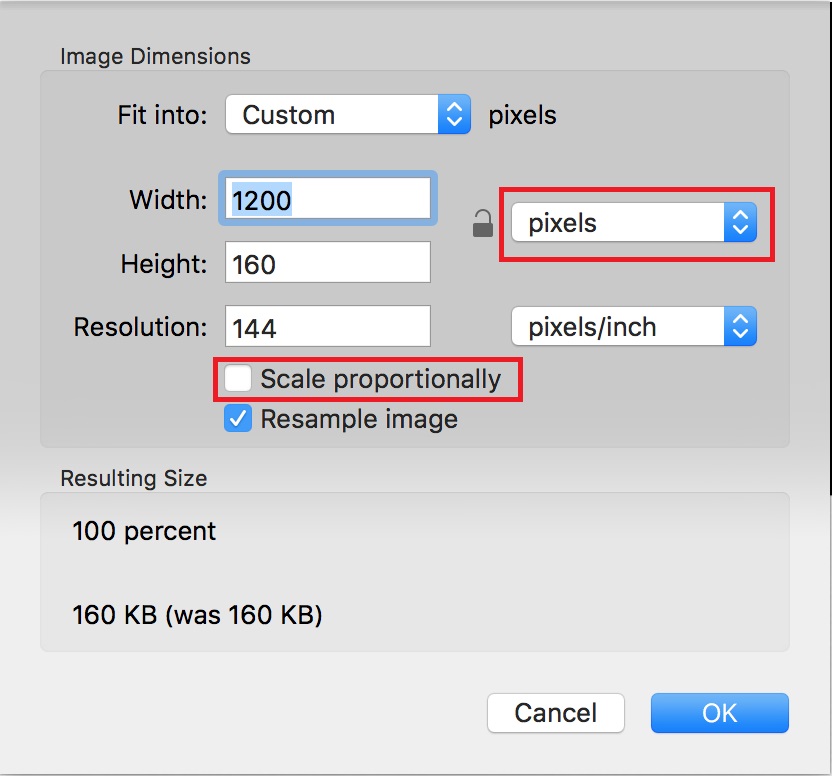
After opening the screen shot in Preview, select tools in the top ribbon and then 'Adjust Size'.

Change the Width and Height to 1200 and 160 pixels respectively and be sure that the 'Scale Proportionally' box is not checked.
Once the correct size in pixels has been established, click OK. There are now two different ways to draw a signature in Preview. Without a touch screen both are difficult to get a quality signature. The first is to select the Paint Brush icon and draw in the signature. If this option is taken, be sure to select a thick brush setting and fill the entire space available in the picture.


The second option is to select the Signature Icon and create the signature using the TrackPad.
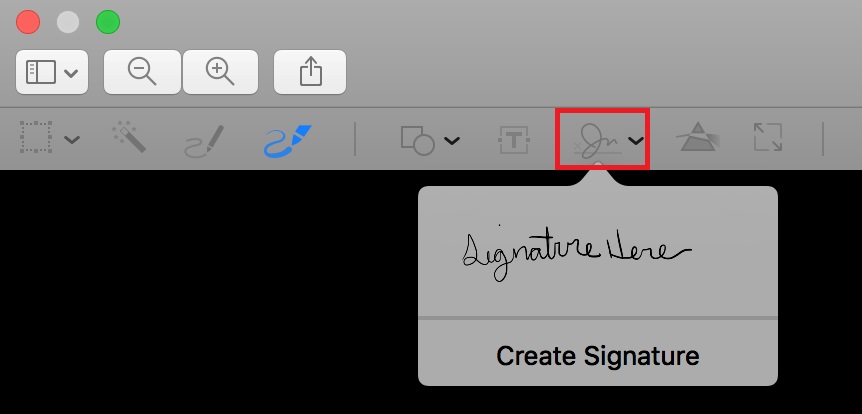
Select 'Create Signature' and the following window will appear:
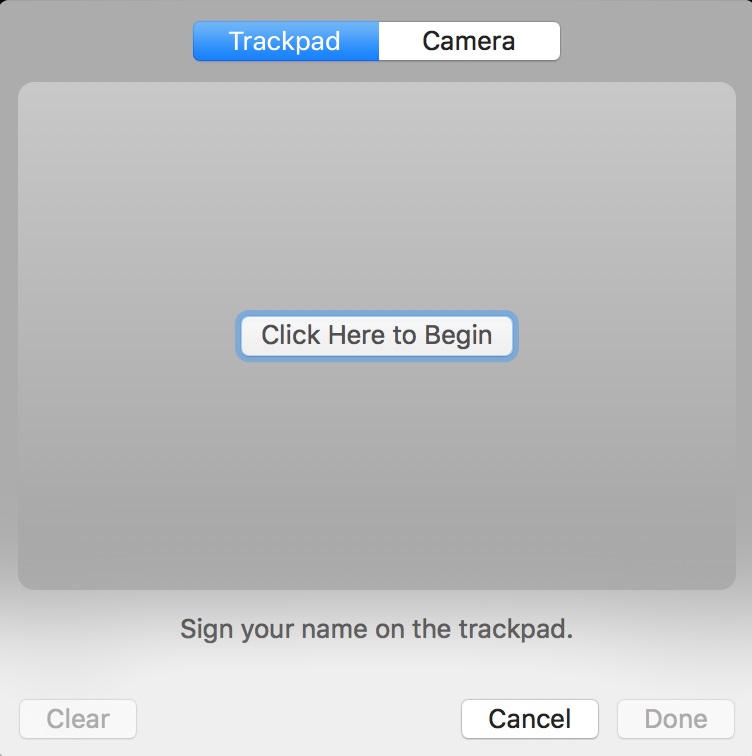
Select 'Click Here to Begin' and follow the instructions to create a new signature. Once a satisfactory signature has been created, double click on it to insert it into the Screen Shot. Resize the signature to fill the entire space (this is the hard part, creating a signature just the right size to fill as much as possible of the space provided).

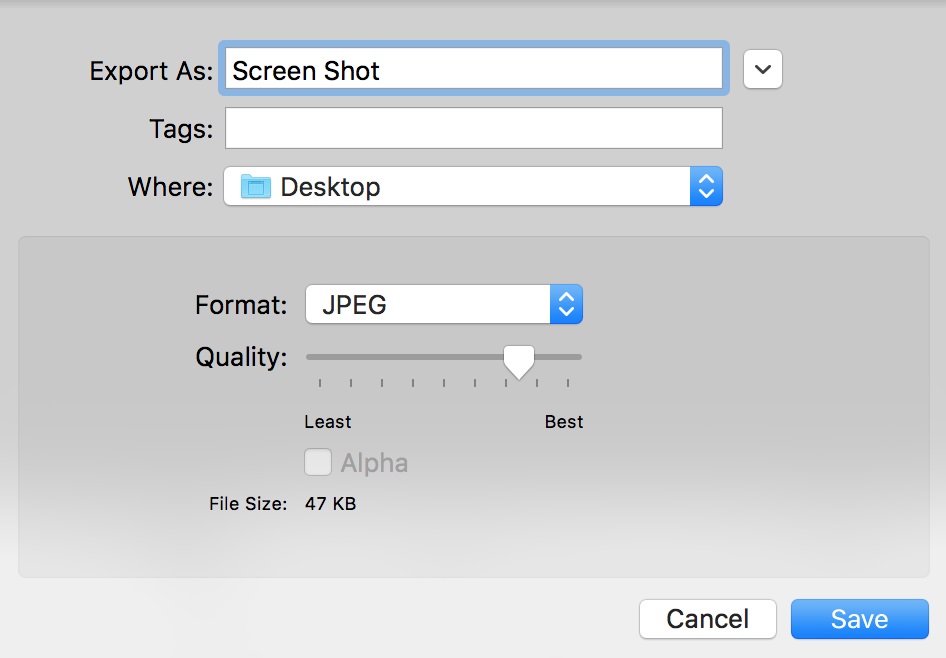
The picture must be saved as a JPEG file type to be used in Restaurant365. To save the file as a JPEG in Preview select File > Export > and set the file type to JPEG and click Save.
Uploading a completed Signature File to a Bank Account

Once a Signature file has been created, it can be uploaded to a Bank Account record. Open the desired Bank Account record and click the ‘Select Signature’ button to upload the JPEG file containing the signature.

After completing these steps, the signature will be available to print on checks for Users must with the following Permissions:
- Accounts Payable → AP Payments → Print Checks w/Signature
- Accounts Payable → Payment Runs → Print Checks w/Signature in Payment Runs
Click here for more information on Check Printing.