Employee records and the Employees page in Smart Ops are being updated throughout Q3 and Q4 of 2024. This article is for the legacy version of employee records. If Workforce Payroll or the updated employee record for Smart Ops is enabled, please refer to the updated Bulk Employee Update Templates article.

To perform a bulk update on Employee records, navigate to 'Employees' or 'Employees Classic)' under the 'Team' listing in the Smart Ops module to locate the Employees listing.
- Note: Make sure to perform any Employee Merges prior to performing Employee updates as not all data will transfer when performing Merges.
Upon loading, export the table by clicking the 'Export' button in the top right corner of the table (marked by a black box in the image above). This action will produce a .csv file will the entire contents of the table included. Open the file and make the desired edits. When complete, save the file (ensure it is saved as a .csv).
This article covers the following topics:
Important Note
Employee records can be updated from the Employees listing if they need to be marked as Active/Inactive or if they need to be provided/have revoked Employee App Access. Click here to learn about marking Employees as 'Inactive' and here to learn how to provide/remove App Access.
Upload File
To upload the file, navigate to the Import Tool by hovering over the 'Administration' tab on the top ribbon and clicking 'Import'. When the screen opens, complete the 'Option' and 'Type' fields by typing in the following:
- Options - Employee
- Type - Update Existing
Upload the file containing the Employee record changes that was recently saved. Click 'Next'.
Map Fields

The available values should map automatically. However, if a value does not map to a column properly, click the selector arrow on the drop down next to the value to manually select an option.
Note: The EmployeeID field mapped automatically and is located at the top of the list of mapped values.
When finished, click 'Next'.
Import
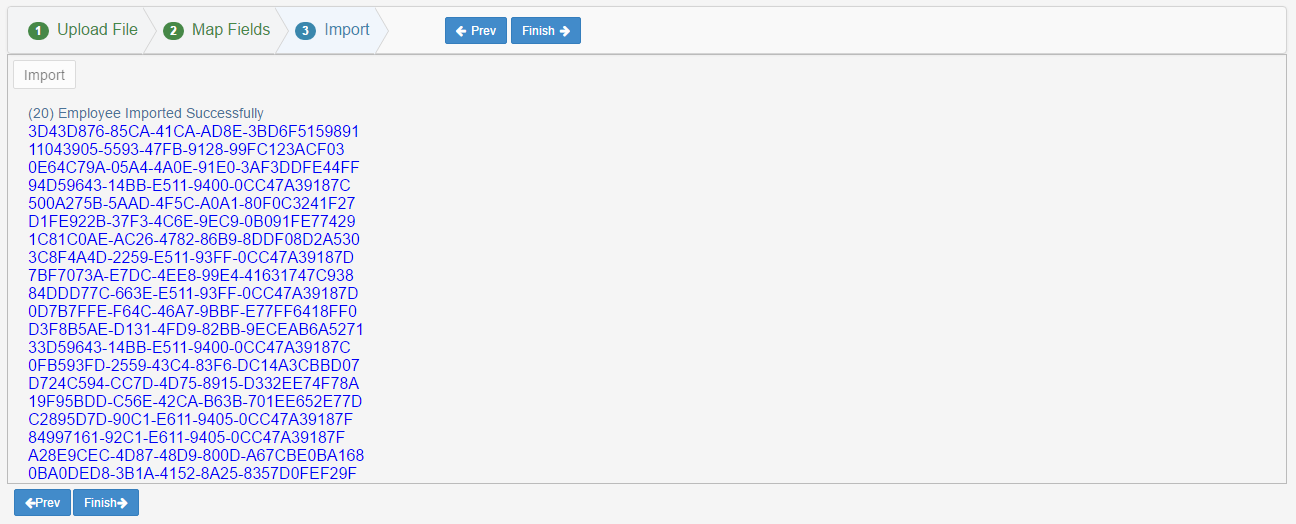
Lastly, click the Import button to complete the update. The EmployeeID values will be displayed as hyperlinks along with a 'Success' message.


