This article is part of the Classic Manager Log Module training. Click here for more information on the Classic Manager Log module.

Manager Logs can be entered in R365 to note any important notes for a specific day. These logs can be managed on both the Browser.
It is important to note that when the New Manager Log is enabled for your database, Users will only be able to enter Notes as Log Entries in the Smart Ops Release, either via web browser or the R365 Red App. Click here to learn more about the New Manager Log.
Browser Instructions
Step 1: Login to R365

Log in to R365 and navigate to the 'Manager Log' module.
Step 2: Select 'Logs' in the Left Nav

Click 'Logs' under 'Log & Task Review' in the left nav to display the Logs and Log Categories. Update the Location and Date filters as needed to display existing Logs.
Step 3: Open the Log Entry Form
There are two ways to open the Log Entry form on this screen:
- Click any of the '+ Log' buttons in the top right to open the Log Entry form
- Note: The '+ Note' option will display as '+ NEW! Note' and will open the new Log Entry when the New Manager Log is enabled

- Note: The '+ Note' option will display as '+ NEW! Note' and will open the new Log Entry when the New Manager Log is enabled
- Hover over the 'Mgr Log' menu in the top ribbon and then click the desired form type. Log Categories can be selected within the chosen 'Task' or 'Note' form while selecting 'Alert' will open a sub-menu where the desired Alert Type can be chosen
- Note: The 'Note' option is disabled and the 'New! Log Entry' option will be listed and will open a new Log Entry when the New Manager Log is enabled

- Note: The 'Note' option is disabled and the 'New! Log Entry' option will be listed and will open a new Log Entry when the New Manager Log is enabled
Step 4: Complete the Entry
Four types of Log Entries exist, and each has its own entry form. Click the links below to see a sample image of the forms

Employees will be able to update any of the fields on the forms except for the 'Assigned To' field on the Task Form. This will automatically be set to your user name and cannot be changed. Managers and Admin Users will be able to change this field as needed.

Expand this section to update the Location of the entry, change the Log Category, or set a Link To Type.
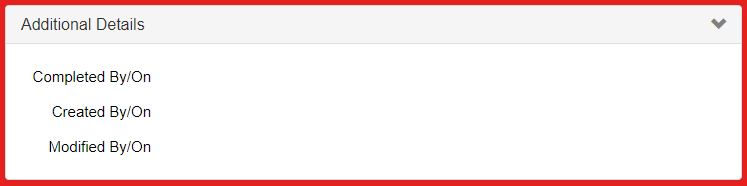
The Additional Details section is for Tasks and Notes only. Expand this section to input any important, additional information in regards to the Log created.
Step 5: Save
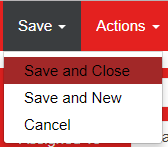
Unlike responding to Task Lists, you will need to save Log Entries as you complete them. Hover over the 'Save' menu and select 'Save and Close' to complete the Entry.
Step 6: Review Entry / Follow-Uup Entry

After your Entry has been saved, the entry can be found and reviewed in the Logs View. Click the Log Category where the entry was saved, and then find and select the Entry.
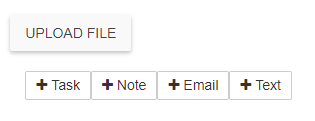
Double click on the Entry to open the form again and you'll find that '+ Entry' buttons have appeared on the right side of the form (for Task and Note only). Click one of these buttons to create a follow-up Entry on top of this Entry.