
The Customer Record is where the Customer specific information for each Customer resides in the system. Once you have opened a Customer Record, the General Tab of the record will be displayed. In addition to the information found on the General tab, Customer Additional Info, Customer related Open Transactions, Customer related All Transactions, Customer related Contacts, and Customer Locations are available to Users.
Additionally, for those using the Franchising Module, Franchisee Additional Info will also be made available on Customers identified as Franchisee Location Customers.

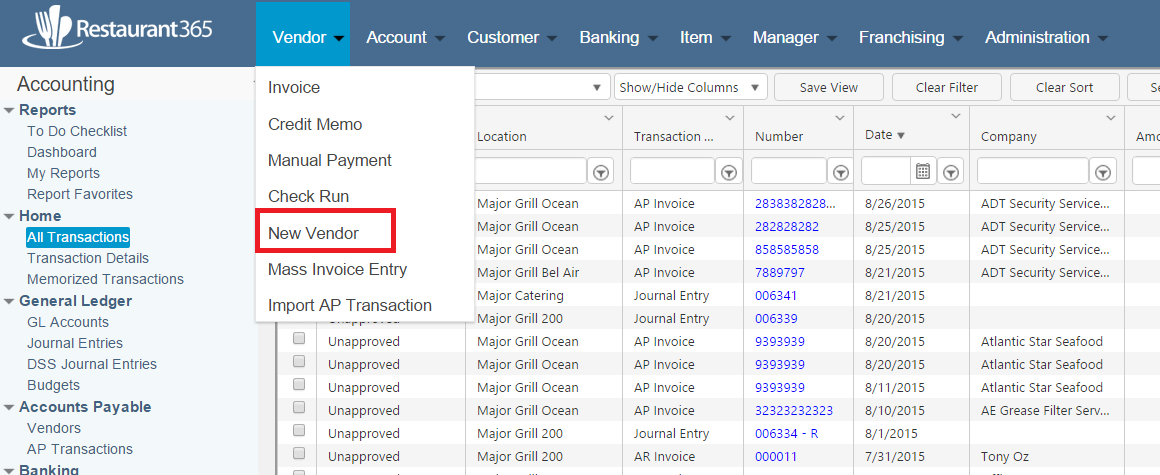
To add a new Customer, hover over the Customer tab in the top ribbon, and select 'New Customer'. The Customer record will open in a new tab.
Important Note
Once a Customer Group has been created, it cannot be edited or deleted. Therefore, ensure that Customer names and groupings are accurate before creating a Customer Group.
General Tab
The General tab is where the Customer Name, Number and Contact Information are entered, and where other Customer settings can be managed.

1) Name - The Customer Name is the only required field on a Customer Record. Enter the Customer Name as it will be displayed in Restaurant365
2) Number - Customer Number is an open text field that can be populated with the Customer Number, or any other value that could be used for sorting purposes
3) Primary Contact - Select, or Create a Primary Contact for this Customer on this selector. Click here for more information on Creating Contacts
4) Comment - Enter an optional Comment for the Customer
5) Phone - Enter the Phone Number for the Customer
6) E-mail - Enter the Email Address for the Customer
7) Fax - Enter the Fax Number for the Customer
8) Payment Terms - If the Customer has specific Payment Terms, you can select them in this selector. Click here for more information on Payment Terms
9) Terms Discount Account - For Payment Terms that result in a discount, specify the GL Account where the discounts will post
10) Inactive checkbox - In the event that your organization drops a Customer after recording transactions with that Customer, you will not be able to Delete the Customer Record. You can flag the Customer as Inactive by checking this checkbox and the Customer will no longer appear in any 'Select Customer' selector in the system
11) Payment Hold - This is a placeholder for future enhancements
12) Address - Enter the Address for the Customer. Address information will be used when generating Invoices for the Customer
13) Upload File - Click to Upload a File to the Customer record
Customer Additional Info Tab
On the Additional Info tab Users can classify a Customer as Taxable, set the Discount %, and flag a Customer as a Franchisee Location

1) Taxable checkbox - Check this box if the Customer is taxable
2) Tax ID - Enter the Tax ID for this Customer in this field
3) Customer Group - Select the Customer Group for this Customer. If a Customer Group does not exist, type in the desired group name, then click 'tab' or 'enter' to display a quick-add prompt to add a new Customer Group
- Note: Once a Customer Group is created, it cannot be deleted. Ensure that the Customer names and groupings are accurate before creating a Customer Grou

4) Discount % - Set the Discount % for the Customer here
5) Franchisee Location checkbox - This checkbox is related to the Franchising Module. When Checked, the Franchisee Additional Info tab appears
6) Commissary Customer - This checkbox is related to the Commissary Module. When Checked, the Commissary Info tab appears
Franchisee Additional Info Tab
Click here for more information on setting up Franchisee Location (Stores)
Commissary Customer
Click here for more information on Commissary Customers and the Commissary Customer Portal
Open Transactions

Any Open Transactions associated with the Customer will appear in this list view.
All Transactions

All transactions associated with this Customer will appear in this list view.
Download a List of Customer Payments

If you would like to view and download a Payments history for a specific Customer, click 'AR Transactions' under the 'Accounts Receivable' listing in the 'Accounting' Module. A listing of all Customers will appear

Find the transactions column and filter for AR Payments. From there, filter for a specific Customer and then click the checkbox on the far left side of the listing to highlight all transactions.
Finally, click the button in the top, right-hand corner above the grid to export these transactions in a CSV file.
Contacts

Any Contacts associated with the Customer will appear in this list view.